Proper cleaning and maintenance of your beer kegs are essential to ensure they remain in top condition for reuse. This guide provides a comprehensive step-by-step process to help you keep your kegs clean, sanitary, and ready for your next brew.
Step 1: Gather Your Supplies
Before you start, make sure you have all the necessary supplies:
- Keg cleaning solution (preferably an alkaline-based cleaner)
- Sanitizer (such as Star San or similar)
- Keg brush or soft cloth
- Bucket or container
- Water source (preferably warm water)
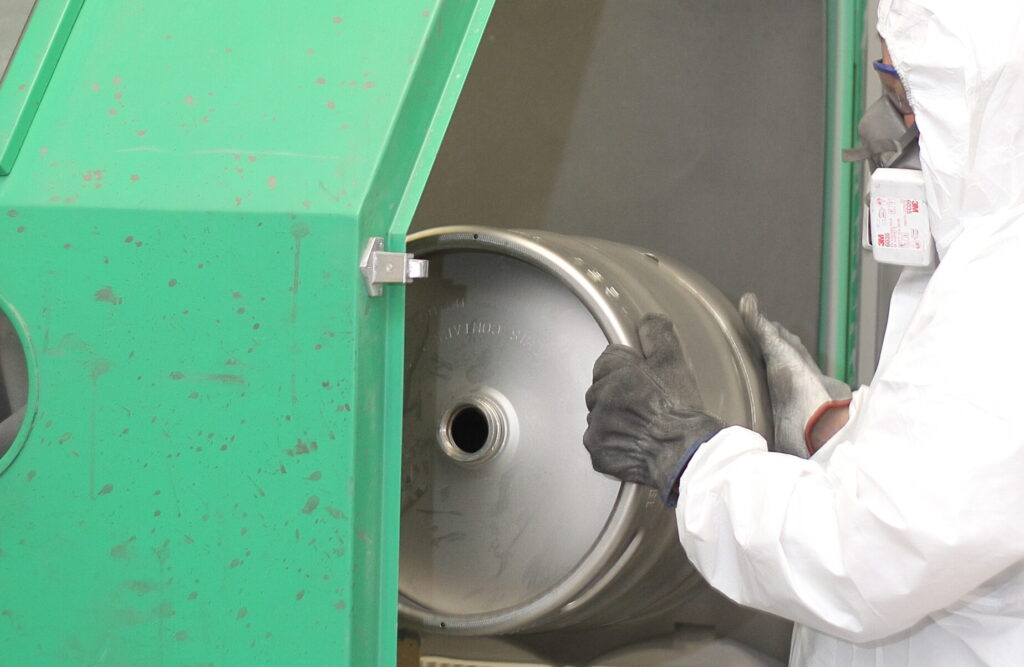
- Protective gloves
- Pressure relief valve tool (if applicable)
Step 2: Depressurize the Keg
- Release Pressure: Ensure the keg is empty of any remaining beer. Depressurize the keg by pulling the pressure relief valve or removing the gas disconnect from the keg.
- Remove the Lid: Carefully remove the lid or spear (depending on the keg type) to gain access to the interior.
Step 3: Rinse the Keg
- Initial Rinse: Rinse the keg thoroughly with warm water to remove any residual beer. Make sure to rinse both the interior and exterior.
- Rinse Components: Remove any removable components (such as dip tubes, valves, and O-rings) and rinse them separately.
Step 4: Clean the Keg
- Prepare Cleaning Solution: Mix the keg cleaning solution according to the manufacturer’s instructions. Use warm water for best results.
- Scrub Interior: Use a keg brush or a soft cloth to scrub the interior of the keg, paying special attention to the bottom and corners where residue can accumulate.
- Clean Components: Soak removable components in the cleaning solution and scrub them thoroughly.
- Rinse Thoroughly: Rinse the keg and components with warm water until all traces of the cleaning solution are removed.
Step 5: Sanitize the Keg
- Prepare Sanitizer Solution: Mix the sanitizer solution according to the manufacturer’s instructions.
- Sanitize Interior: Fill the keg with the sanitizer solution, ensuring all surfaces are in contact with the solution. Allow it to sit for the recommended contact time.
- Sanitize Components: Soak removable components in the sanitizer solution for the recommended contact time.
- Drain and Dry: Drain the sanitizer solution from the keg and allow it to air dry. Ensure all components are also air-dried.
Step 6: Reassemble the Keg
- Reattach Components: Reattach all removable components, ensuring they are properly seated and secure.
- Lubricate O-Rings: Apply a food-grade lubricant to the O-rings to ensure a good seal and prevent leaks.
- Replace Lid: Replace the lid or spear and secure it tightly.
Step 7: Final Checks
- Pressure Test: Pressurize the keg with CO2 to check for any leaks. Spray a solution of water and dish soap around the seals and connections to identify any bubbles, indicating a leak.
- Release Pressure: If no leaks are detected, release the pressure and store the keg in a clean, dry place.
Tips for Ongoing Maintenance
- Regular Cleaning: Clean and sanitize your kegs after each use to prevent buildup and contamination.
- Inspect Regularly: Regularly inspect kegs for signs of wear and tear, such as damaged O-rings or corroded components, and replace them as needed.
- Store Properly: Store empty kegs with the lids loosely attached to allow airflow and prevent mold growth.
Conclusion
By following this step-by-step guide, you can ensure your beer kegs remain in top condition for reuse. Proper cleaning and maintenance not only extend the life of your kegs but also help maintain the quality and flavor of your beer. Regular attention to cleanliness and sanitation will keep your kegs ready for their next use, ensuring a great brewing and serving experience every time.